Omnisend Tutorial: How to Set Up Email Marketing in 4 Steps
This Omnisend tutorial covers the whole setup in four steps: connect your store and import contacts, add a signup form, design and send a first campaign, then switch on your automations. Do them in that order and you can have a working email program in about a day, with welcome and abandoned cart emails running without you.
Most beginners stall because Omnisend offers a lot at once. Campaigns, automations, SMS, forms and segments all sit in the menu. It is easy to send a one-off blast before a single automated email exists. The result is a store that depends on manual sends and loses the shoppers who browse, add to cart and leave.
We manage email and SMS for ecommerce brands at Chromex, and we are an official Omnisend partner. Each one tells you what to set up, what to check before moving on, and what to avoid. If you want to learn how to use Omnisend email marketing without guessing, start here.
Before you start: what you need
You need four things before you open Omnisend: an ecommerce store, an Omnisend account, a sending domain you control, and a list of people who agreed to receive your emails. Gathering these first saves you from stopping halfway through setup.
What Omnisend does for an online store
Omnisend is an email and SMS platform built for ecommerce. It reads your products, orders and shopper activity, then uses that data to trigger messages. That is why setup begins with a store connection and not a template. You can learn the tool on the free plan and move up later, so check Omnisend's pricing page for current limits. If you have not signed up yet, ask us for our partner link. Sign-ups through it get 20% off the first 2 months, offered as cashback.
Prerequisites checklist
- Admin access to your store (Shopify, WooCommerce, BigCommerce or similar).
- Access to your domain's DNS settings, so you can authenticate your sending domain.
- Your logo, brand colors and product images in one folder.
- A CSV of existing contacts, but only people who opted in.
Omnisend works best when it can see your store, so connect that before you design anything.
Step 1. Connect your store and import contacts
Connect your store first, because every later feature depends on the product and order data that this connection syncs. On Shopify, install Omnisend from the Shopify App Store and approve the permissions. Other platforms connect through Omnisend's integrations page.
Connect and verify the sync
- Install the Omnisend app or integration and approve access.
- Open your Omnisend account and confirm that products, customers and orders appear.
- Complete the brand setup: logo, colors, sender name and reply-to address.
- Add your website tracking so Omnisend sees browsing and cart activity.
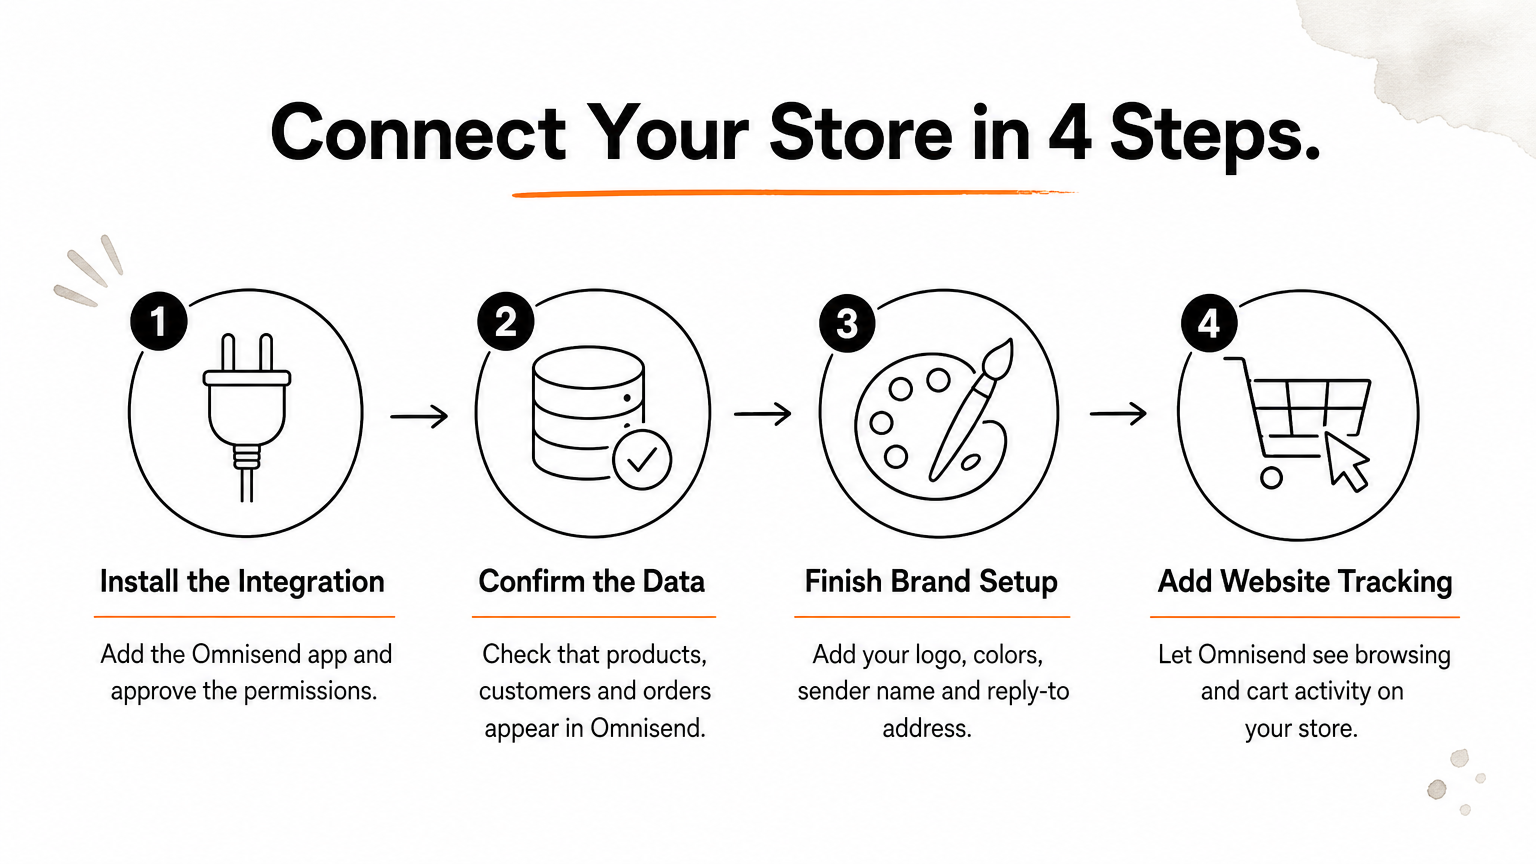
Spot-check three products and one past order. If any are missing, fix the sync now. Broken data later means broken abandoned cart emails.
Authenticate your domain and import contacts
Authenticate your sending domain by adding the DNS records Omnisend gives you in your account settings. This proves the mail is really yours and protects deliverability. Gmail and Yahoo expect authentication from bulk senders, and Google's sender guidelines explain the rules.
Then import your list through the contacts area. Upload the CSV, map each column, and mark only opted-in people as subscribed. Never import purchased or scraped lists. They hurt your sender reputation fast.
A synced store and an authenticated domain are the foundation, and everything else sits on top of them.
Step 2. Add a signup form to grow your list
Build one signup form that offers a clear reason to subscribe and asks only for an email address. A popup with a first-order discount is the standard starting point for stores.
Pick the form type
| Form type | Best use |
|---|---|
| Popup | Main list builder on every page |
| Wheel of Fortune | Gamified discount for higher engagement |
| Embedded form | Footer or blog sign-up |
| Landing page | Paid ads and social traffic |
Start with a popup. Add a second form type only after the first one is converting.
Set the offer, timing and follow-up
Choose an incentive you can afford, such as 10% off the first order. Set the popup to appear after 5 to 10 seconds or on exit intent, not instantly. Write a success message that includes the discount code, and make sure the form feeds your welcome automation in Step 4.
Here is a quick example. With 10,000 monthly visitors and a 3% signup rate, you add 300 subscribers a month. Raising that rate to 4% adds 100 more without any extra ad spend.
One form with a clear offer beats five forms that nobody opens.
Step 3. Design and send your first campaign
Create a campaign from the campaigns section, choose email, and build it in the drag-and-drop editor. Your first send should be simple: a bestseller or new-arrivals email to your engaged subscribers.
Build the email
Start with a layout, then replace the placeholders with your own content. Use the product picker block to pull items, prices and images straight from your store, so you never paste them by hand. Keep one goal per email, one main button, and a short subject line with preview text that adds a second hook. Check the mobile preview before you move on, because most of your readers will open on a phone.
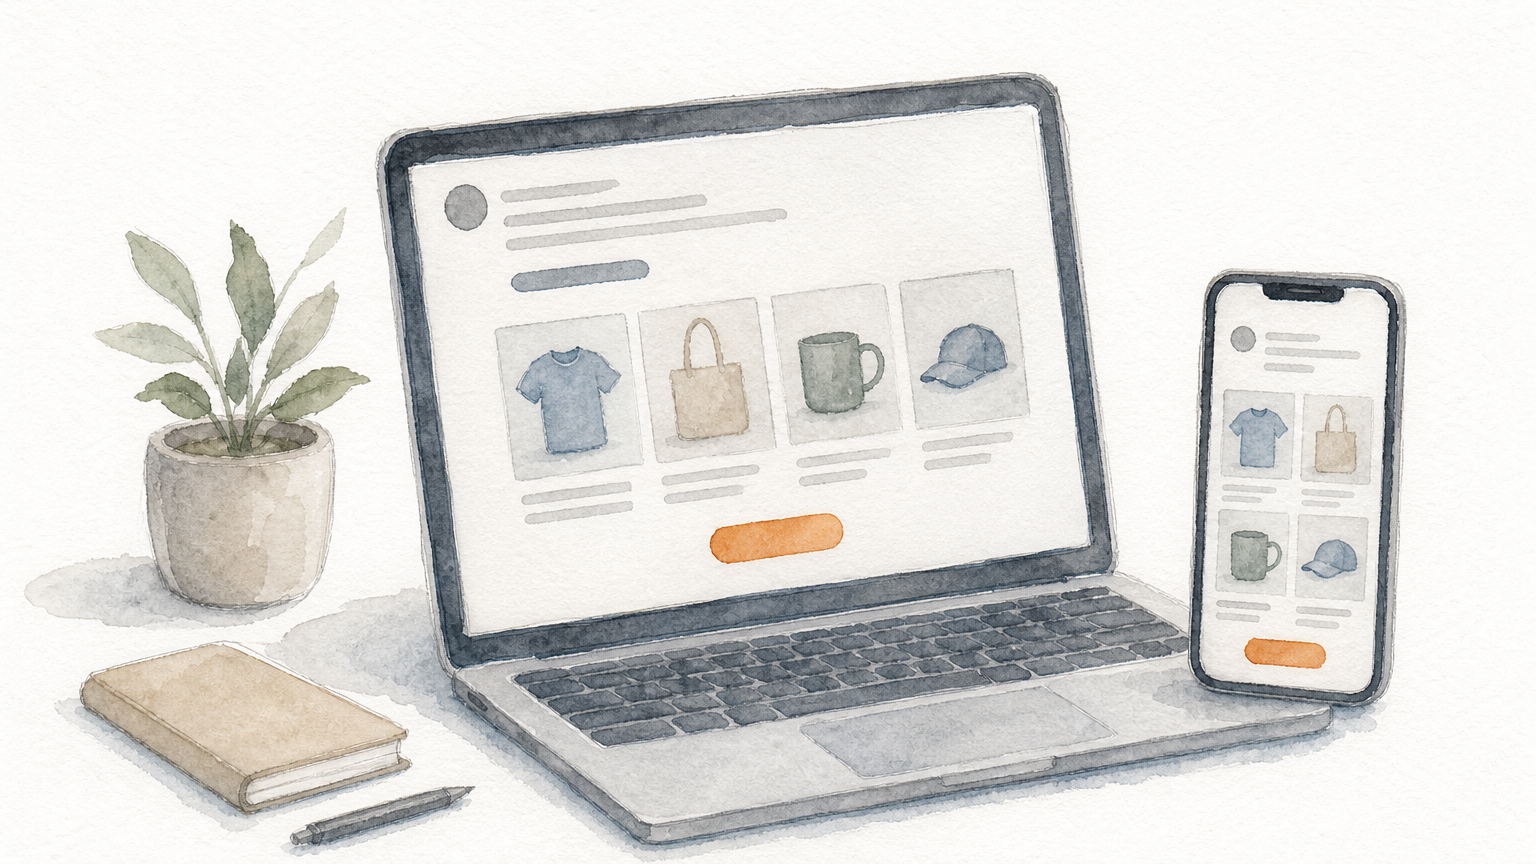
If you want visuals that look unlike every other store's, custom design is where agencies earn their fee. At Chromex we build every email without templates.
Test, target and schedule
Send a test to yourself and check the links, the discount code and how the email looks in Gmail. Then pick your audience: a segment of recent subscribers or buyers is safer than your whole list on the first send. Schedule it for a time when your customers are likely to be online, or send it now.
Always send a test first, because a broken link goes to your entire list.
Step 4. Turn on your automations
Switch on automations last, but treat them as the most valuable part of the setup. They send emails based on what shoppers do, so they earn revenue while you sleep. In the automation section, pick from Omnisend's pre-built workflows for welcome series, cart abandonment, browse abandonment and order follow-ups.
Launch the first three flows
Set up the welcome series and the abandoned cart flow before anything else. Use these timings as a starting point, then test your own.
| Flow | Trigger | Suggested emails |
|---|---|---|
| Welcome series | Signs up via form | Immediately, day 2, day 4 |
| Abandoned cart | Adds to cart, no order | 1 hour, 24 hours, 72 hours |
| Browse abandonment | Views products, no cart | About 3 hours after |
Edit the copy and design in each step, set the delays, and add a filter so recent buyers skip the cart emails. Then start the workflow.
Test the flows and read the results
Test every flow by signing up with a spare address and abandoning a cart yourself. Confirm that the right email arrives at the right time with the right product. After two to four weeks, compare opens, clicks and revenue per email. Change one element at a time, such as the subject line or the discount, so you know what moved the numbers.
Automations are where email turns into revenue, so build them before you send your second campaign.
Your next move
Connect the store, build one form, send one campaign, and launch the welcome and abandoned cart flows. That sequence gives you a working Omnisend account without wasted effort, and each step feeds the next. After that, add flows and test one change at a time.
If you would rather have experts handle the audit, the automations and the testing, we do exactly that for ecommerce brands. Book a call with Chromex and we will show you where your email program has the most room to grow.