Shopify Ecommerce Email Marketing 101: How to Get Started
The fastest way to start Shopify ecommerce email marketing 101 is to follow four steps in order. Pick one email platform and connect it to your store. Add a sign-up form to grow your list. Build five automated flows: welcome, abandoned cart, browse abandonment, post-purchase, and winback. Then send one campaign a week and track revenue per recipient. Flows come before campaigns because they run on their own and reach shoppers when their intent is highest.
Most new store owners do it backward. They blast a discount to a small list, see a low open rate, and decide email does not work. Meanwhile shoppers abandon carts, first-time buyers never hear from the store again, and the tool options (Shopify's own app, Klaviyo, Omnisend and more) make every choice feel risky.
This guide walks through the full setup, with a worked example, a flow table, and a sample email you can adapt. Chromex runs email and SMS programs for ecommerce brands, and the order below mirrors how we sequence that work: audit, build, launch campaigns, then test.
Why email is worth setting up first
Email comes first because you own the list, and it converts shoppers you already paid to attract. Yes, you can do email marketing straight from Shopify, and the steps below work with its built-in tool or a dedicated platform.
What email does that ads and social cannot
With paid ads and social posts, you rent attention. A visitor who leaves without buying is gone unless you captured their email address. Email lets you reach that person again for almost nothing per send, with no algorithm deciding who sees the message.
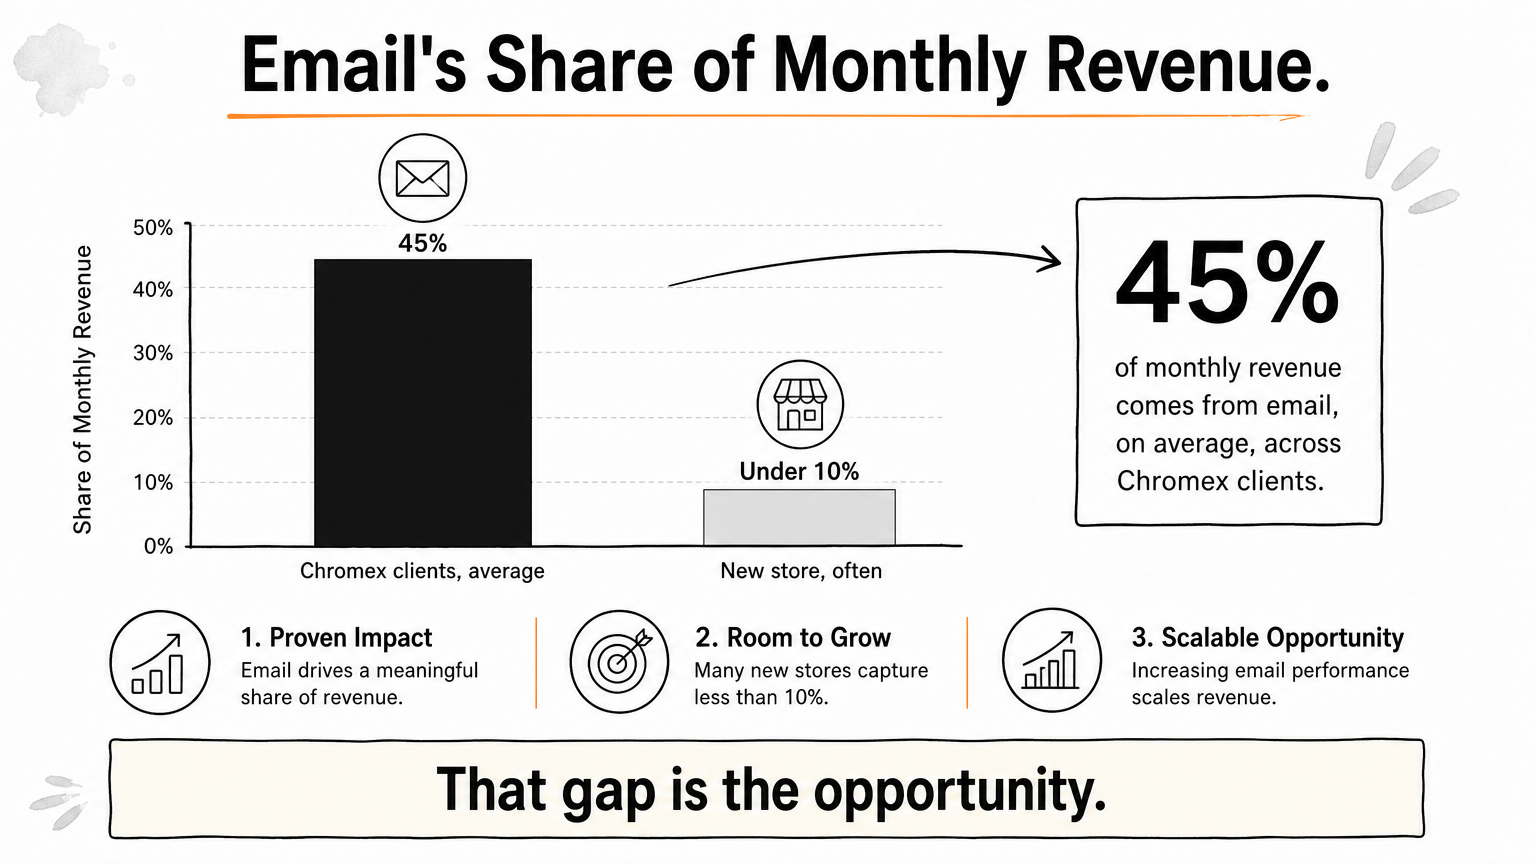
The upside is large. Across Chromex clients, email drives an average of 45% of monthly revenue. A new store often sits under 10%, and that gap is the opportunity.
Email is the one channel where the audience belongs to you, not to a platform.
What you need before you start
Gather these before you open any tool:
- A Shopify store with products live and a custom domain you control
- A logo, brand colors, and two fonts for consistent emails
- A first-order offer or a reason to subscribe, such as early access
- Your existing customer list, only if those people agreed to hear from you
- A sending address on your own domain, such as hello@yourstore.com
Step 1. Choose a platform and connect your store
Choose the simplest tool that covers your next six months, connect it to Shopify, and authenticate your sending domain before the first email goes out.
Pick a tool that matches your stage
Shopify's built-in messaging tool is the easy starting point. It sits inside your admin, and Shopify advertises a free monthly sending allowance. Check Shopify's pricing page for current limits, since they change.
Move to Klaviyo or Omnisend when you need behavior-based segments, flow branching, or SMS in the same system. Chromex works on both. Do not spend weeks comparing. A flow built well on any of these tools beats a perfect flow you never launched.
Connect and authenticate
- Install the platform from the Shopify App Store and sync customers, products, and order history.
- Add the SPF and DKIM records it gives you to your domain's DNS settings.
- Publish a DMARC record, even a basic monitoring one.
- Send a test to Gmail and Outlook inboxes and check where it lands.
Gmail and Yahoo require authentication and easy unsubscribes from bulk senders, and Google publishes its email sender guidelines for reference. Skipping this step is the most common cause of poor deliverability in new programs.
Authenticate your domain before your first send, or every later email pays for it.
Step 2. Grow your list with a sign-up form
A good sign-up form asks for one thing, an email address, and gives a clear reason to hand it over.
Build a form that earns the click
Use a popup or embedded form with a short headline, a specific offer, and a single field. "Get 10% off your first order" beats "Subscribe to our newsletter." Show it after a few seconds or on exit intent, and keep the mobile version easy to close.
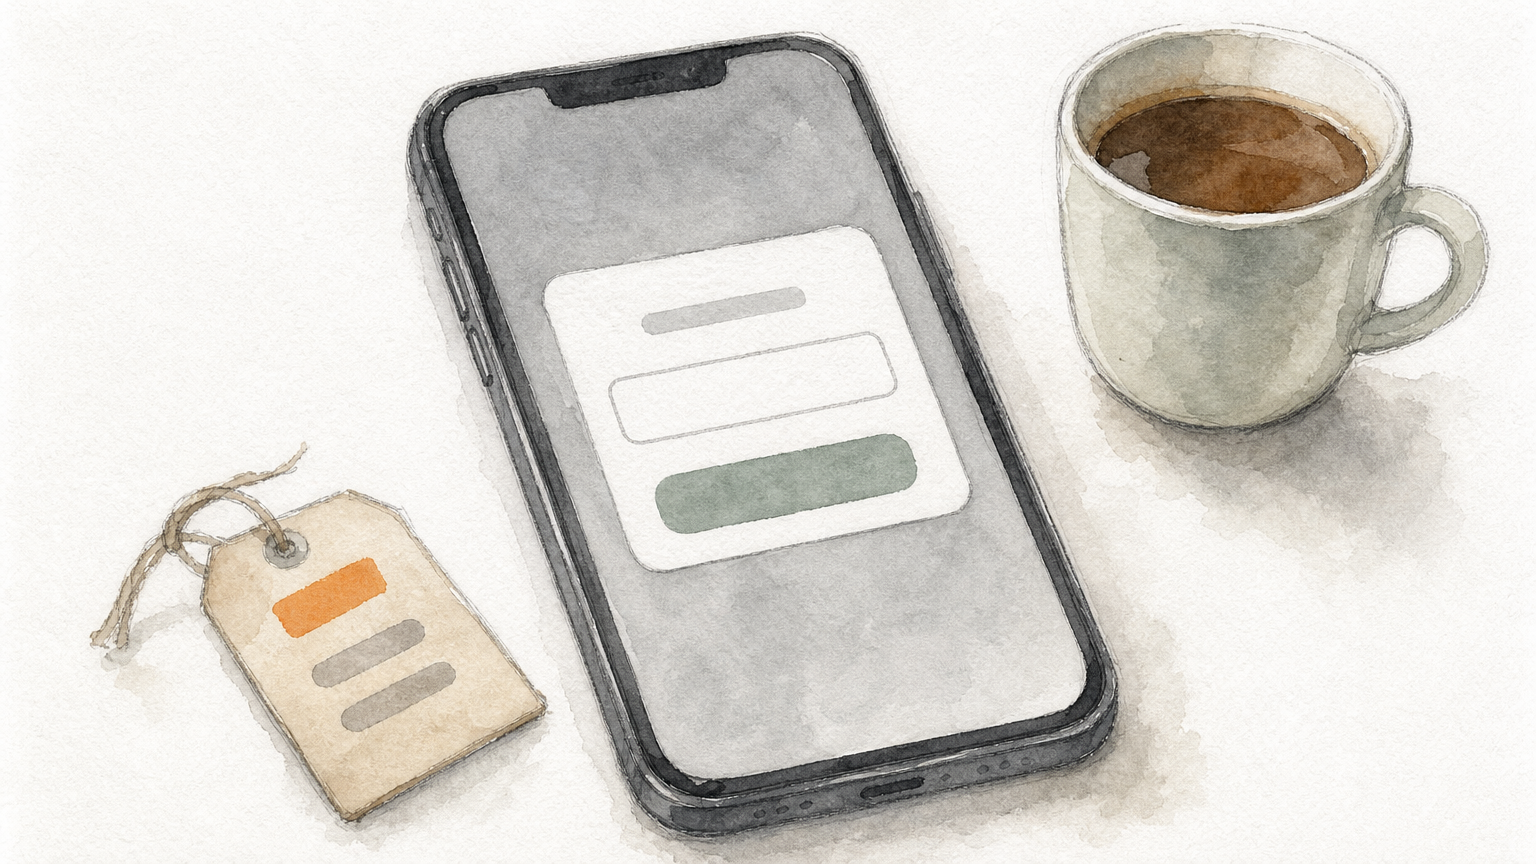
Here is a worked example. A store with 20,000 monthly sessions and a form converting 2.5% adds 500 subscribers a month. After six months that is about 3,000 subscribers, before unsubscribes. Lifting the form to 3.5% adds 200 more per month, so test the offer and the timing early.
A one-field form with a concrete offer beats any clever design.
Stay compliant from day one
In the US, CAN-SPAM requires an honest sender name and subject line, your physical mailing address, and a working unsubscribe link that you honor within 10 business days. Add a checkbox or clear consent text to your forms.
SMS needs its own explicit opt-in, so never assume email subscribers agreed to texts. Beyond legal safety, a clean, willing list also protects your sender reputation.
Step 3. Build your five core flows
Flows are automated emails triggered by shopper behavior. Launch these five first, in this order, because the earlier ones touch the most revenue.
The five flows to launch first
| Flow | Trigger | Emails | Suggested timing |
|---|---|---|---|
| Welcome series | Joins your list | 3 | Immediately, day 2, day 4 |
| Abandoned cart | Starts checkout, no purchase | 3 | 1 hour, 24 hours, 48 to 72 hours |
| Browse abandonment | Views a product, no cart | 1 to 2 | 2 to 4 hours, next day |
| Post-purchase | Places an order | 3 | Day 1, day 7, day 14 |
| Winback | No purchase in about 90 days | 2 to 3 | At lapse, then a week apart |
Shopify sends order confirmations on its own, so post-purchase flows should add value rather than repeat them. Think usage tips, a review request, and a related product. Adjust the winback window to how often your customers actually reorder. Chromex builds eight core sequences per client, and once these five run, you extend into catalog-specific flows.
If you build only one flow this week, build abandoned cart.
What to put in each email
Keep the first abandoned cart email free of discounts. Most shoppers just got distracted, so remind them and show the product. Hold any incentive for the second or third email. Here is a template to adapt:
Subject: Still thinking it over?
Preview: Your {{ item_name }} is waiting in your cart.

Hi {{ first_name }},

You left something behind. We saved your cart so you can
pick up right where you stopped.

[Product image] {{ item_name }}, {{ item_price }}

[Button: Return to my cart]

Questions about sizing, shipping, or returns? Reply to this
email and a real person will answer.

{{ store_name }}
{{ store_address }} | Unsubscribe
Step 4. Send campaigns and track what matters
Once your flows run, send one campaign a week and judge results by revenue, not opens.
Set a simple sending rhythm
Campaigns are one-off sends, such as launches, sales, and stories. A common guide is the 80/20 rule: about 80% of your emails give value through tips, stories, and social proof, and about 20% push a direct offer. That keeps subscribers engaged and your promotions effective.
Start with your engaged segment, meaning people who opened or clicked in the last 90 days. Mail the rest less often. Protecting engagement protects deliverability.
Track the numbers that matter
Apple Mail Privacy Protection inflates open rates, so treat opens as a rough signal only. Watch these instead:
- Revenue per recipient for each campaign
- Flow revenue versus campaign revenue, to see whether automation is pulling its weight
- Placed order rate from each flow
- Unsubscribe and spam complaint rates, keeping complaints well below 0.3%
After 30 days of clean data, start testing one variable at a time, such as subject lines, send times, and offers. This is the stage where results compound.
Judge every email by revenue per recipient, not by how many people opened it.
Start small, then build on it
Email marketing for a Shopify store comes down to a sequence. Authenticate a platform, collect subscribers with a clear offer, automate the five flows that match shopper behavior, then send steady campaigns and measure revenue. Each step supports the next, and skipping ahead usually means paying for it later in deliverability or lost sales.
You can run all of this yourself. If you would rather hand it off, Chromex audits your setup, builds the flows, designs custom emails, and tests everything for you.