How to Set Up Shopify Email Automation (Tools and Costs)
Most Shopify stores send a few campaigns and call it email marketing. Meanwhile, shoppers sign up, abandon carts, and buy once without hearing a word from you. Shopify email automation fixes that by sending the right message at the right moment, with no manual work after setup.
Here is the short answer. You can start with Shopify Messaging for free or low cost, but most growing stores end up on Klaviyo for deeper segmentation and flow control. Mailchimp works, though it is less suited to ecommerce. Expect to pay anywhere from $0 to a few hundred dollars a month, depending on list size and SMS use.
This guide walks you through the setup step by step. You will see how to build the welcome series, abandoned cart, and post-purchase flows first, since they drive the most revenue. We also compare tool pricing side by side. At Chromex, we build these flows for ecommerce brands every day, so you get what works in practice, not theory.
What Shopify email automation is and what it costs
Shopify email automation is a set of emails that send themselves when a shopper does something specific. A trigger starts each flow, such as joining your list or leaving a cart, and a timed series of messages follows. You build the flow once and it runs in the background. Before you pick a tool, you need to know what these flows do and what they cost.
How automated flows work
Every flow has a trigger, a delay, and a message, often with a filter in between. Say a shopper starts checkout and leaves. The trigger is "checkout started." The delay is one hour. The filter confirms they did not order. Then the email goes out. Email automation Shopify stores run this way pulls data straight from your catalog and orders, so the message can show the exact product left behind.
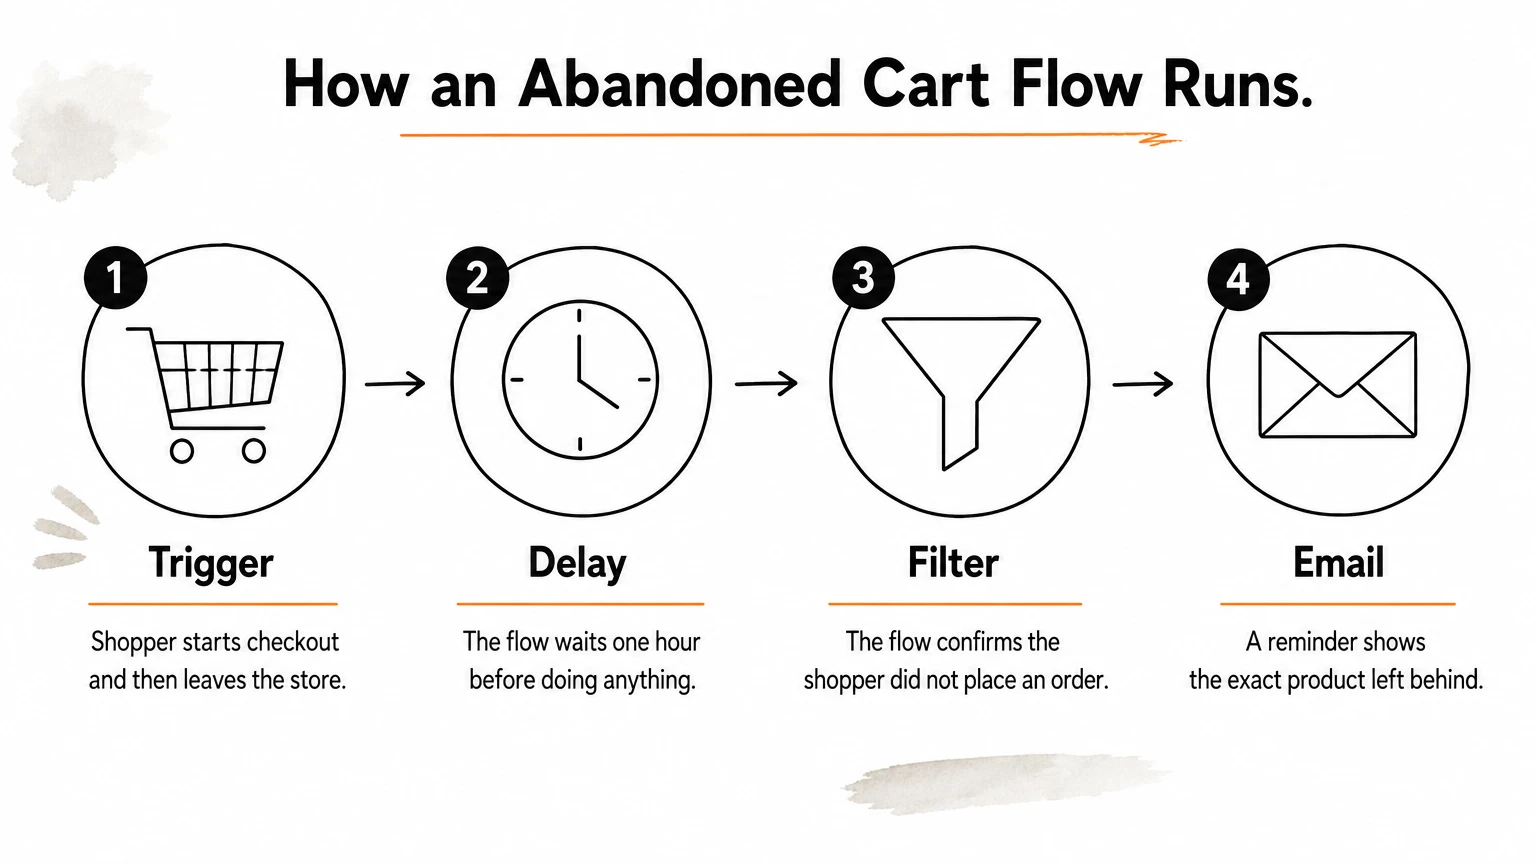
Campaigns are different. A campaign is a one-off send you schedule by hand, like a sale announcement. Flows run all the time and respond to each shopper's behavior. In our client accounts, email averages about 45% of monthly revenue, and automated flows do the steady work behind that number.
The flows worth building first
You do not need twenty flows. Start with the ones tied to clear buying moments:
Welcome series: triggers when someone joins your list.
Abandoned cart: triggers when a shopper starts checkout and does not buy.
Browse abandonment: triggers when someone views products and leaves.
Post-purchase: triggers after an order to build trust and drive a second sale.
Review request: triggers a set number of days after delivery.
Win-back: triggers when a customer goes quiet.
Back-in-stock: triggers when a sold-out item returns.
Steps 4 through 7 below cover each one in order.
What each tool costs
Cost depends mostly on how many contacts you have and whether you add SMS. Here is how the three main options compare at the entry level. Vendors change pricing often, so confirm the numbers on each pricing page before you commit.
Tool | Free tier | Paid pricing (approximate) | Best for |
|---|---|---|---|
Shopify Messaging | 10,000 emails per month | $1 per 1,000 extra emails | New stores, basic flows |
Klaviyo | 250 contacts, 500 sends per month | From about $20 per month, near $100 at 5,000 profiles | Segmentation and detailed ecommerce flows |
Mailchimp | 500 contacts | From about $13 per month, rising with contacts | Newsletters and light automation |
SMS is billed separately on most platforms, usually through message credits, so budget for it only when you are ready to run it. Also expect your bill to climb as your list grows. A store with 10,000 profiles on Klaviyo will pay several times what a 1,000-profile store pays.
For most stores the real question is not which tool is cheapest. It is which tool will not force a rebuild when your list doubles. Shopify's built-in option costs the least, but its flow logic is limited. Klaviyo costs more but gives you the splits, filters, and reporting that revenue-focused stores need.
Pick the tool that fits your list today, and make sure your flows can move with you when you outgrow it.
Step 1. Choose your email automation tool
Your tool sets the ceiling for every flow you build later, so pick it first. Switching platforms mid-growth means rebuilding every flow and risking your sender reputation while you do it. The choice comes down to your stage, your budget, and how much control you need over Shopify email automation logic.
Match the tool to your stage
Shopify Messaging suits stores with a small list and simple needs. It is free to start and lives inside your admin, so setup takes minutes. The limit is flow logic. You get prebuilt welcome and abandoned cart automations, but little room for conditional splits or deep segments.
Klaviyo is the standard once revenue matters. It reads Shopify order and browsing data natively, so you can split flows by order value, product, or repeat-buyer status. Omnisend email marketing is a solid alternative if you want email and SMS in one builder. Mailchimp is fine for newsletters, but its ecommerce flows are thinner, which our guide to Klaviyo vs Mailchimp for Shopify covers in detail.
Your situation | Best fit |
|---|---|
Just launched, under 1,000 subscribers, tight budget | Shopify Messaging |
Growing, want segmentation, SMS, and revenue reporting | Klaviyo |
Want email and SMS in one builder at a lower entry cost | Omnisend |
Mostly newsletters, few automations | Mailchimp |
Check these before you commit
Run any candidate through this list. If it fails two or more, keep looking.
Does it sync Shopify customers, orders, and products in real time?
Can you branch a flow on order count, cart value, or product?
Does reporting show revenue per flow, not just opens and clicks?
Can you add SMS later without a second platform?
What will the bill be if your list doubles?
The last question matters most. Price the tool at twice your current list size, because that is the bill you will actually face within a year. Then compare it against what email should earn you, not against what it costs today.
Choose the tool you will still be using when your list is twice as big, because moving flows later costs more than paying a little extra now.
Our recommendation
If you are brand new, start with Shopify Messaging and send your welcome and abandoned cart emails. Move to Klaviyo once you pass roughly 1,000 subscribers or want segmented flows. Most stores we manage run on Klaviyo, and we are also an official Omnisend partner, so we build in either one. Whichever you choose, the next step is the same: connect it to your store.
Step 2. Connect your store and clean up your list
Shopify email automation depends on the data behind it. A solid store connection tells your tool who bought what and when. A clean list keeps your emails out of spam. Do both before you build a single flow.
Connect Shopify to your tool
The integration takes about ten minutes. If you chose Shopify Messaging, skip this part, because it already lives in your admin. For Klaviyo or Omnisend, follow these steps:
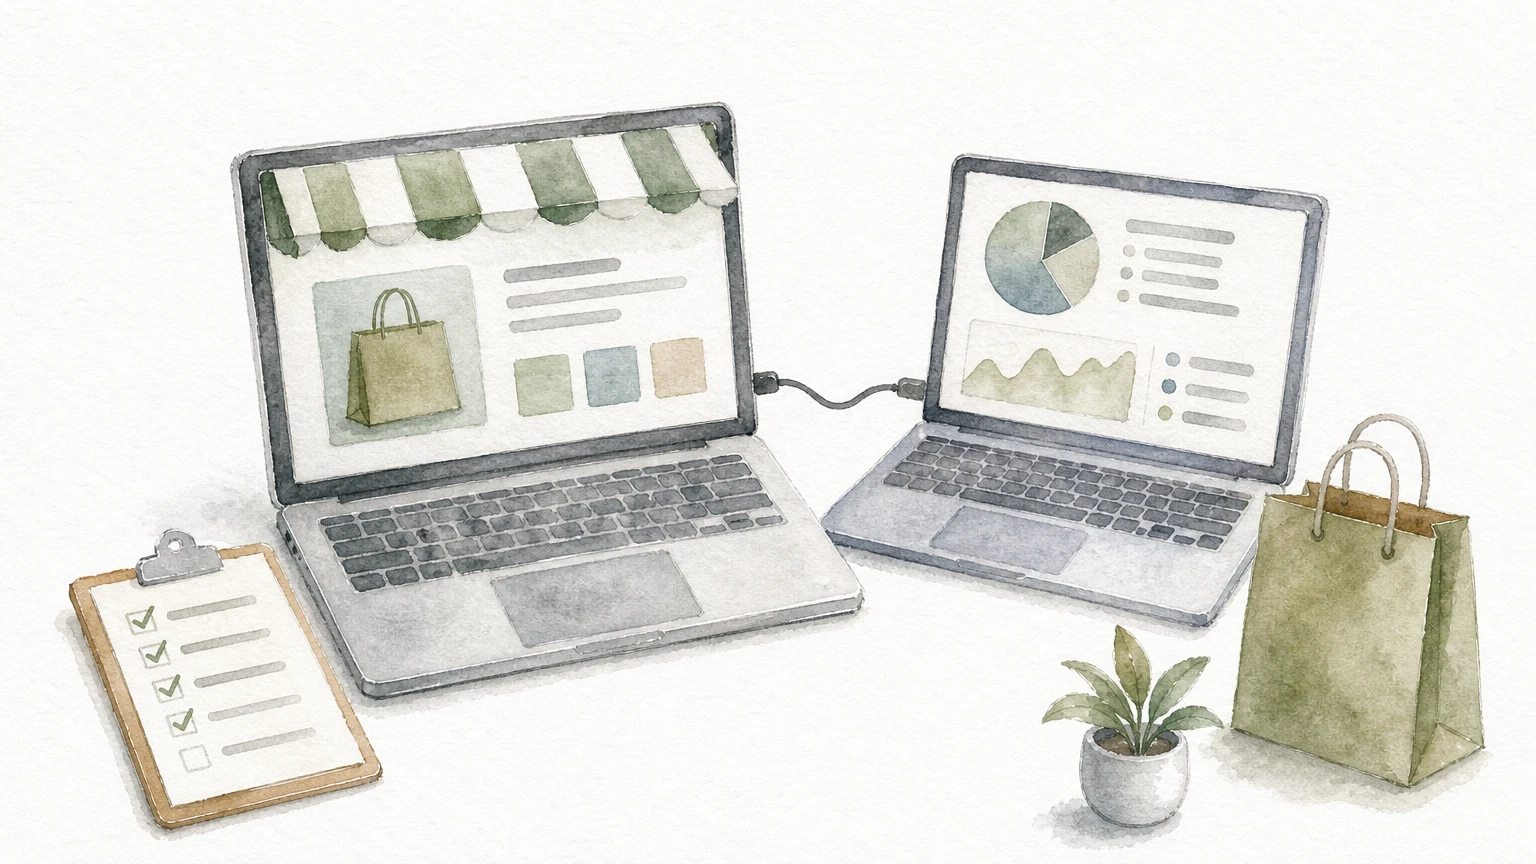
Install the app from the Shopify App Store and log in to your account.
Approve the permissions so customers, orders, and products can sync.
Turn on onsite tracking, which powers browse and cart abandonment.
Wait for the first sync, then check that your product and customer counts match Shopify.
Start a test checkout and place a test order to confirm both events appear.
Do not skip that last step. Missing checkout events are where most broken setups hide, and a flow with no trigger never sends.
Clean up your list before you send
Start with consent. Import only people who agreed to hear from you, and suppress every unsubscribed contact. Then remove hard bounces, role addresses like info@ or admin@, and obvious typos such as gmial.com. A bad list hurts your sender reputation, and that damage follows every flow you build.
A clean list protects your deliverability, and deliverability decides whether any flow earns a dollar.
Next, sort your contacts by engagement. Three groups work well:
Engaged: opened or clicked in the last 90 days. Send flows and campaigns here.
Cooling: active 90 to 180 days ago. Send only your best content.
Inactive: nothing for 180 days or more. Hold them for the win-back flow in Step 7.
Finally, authenticate your sending domain with SPF, DKIM, and DMARC. Your platform walks you through the DNS records. Google and Yahoo now require authentication and one-click unsubscribe from bulk senders, and they expect spam complaints under 0.3%. You can read the rules in Google's email sender guidelines. Set this up now, while your list is small and mistakes are cheap to fix.
Step 3. Set up a sign-up form to collect subscribers
Every flow you build needs people to send to. A form is how Shopify email automation gets fed, so set it up before you write a single email. Without one, your welcome series has no one to welcome.
Pick an offer and a form type
Start with the offer. A specific incentive beats "Subscribe for updates." Ten percent off works for most stores. Free shipping suits stores with a high average order, and early access fits brands that run limited drops. Check your margins before you promise anything.
A sign-up form is the front door to every flow, so make the offer clear and the consent unmistakable.
Next, choose the format. Most stores run two or three at once:
Form type | Best use | Suggested setting |
|---|---|---|
Popup | Main capture on desktop and mobile | Show after 8 to 10 seconds or 30% scroll |
Flyout or banner | Less intrusive option for mobile | Show after the first page view |
Embedded footer form | Always-on capture for browsers | Place above the footer links |
Configure it to convert
Good settings matter more than clever design. Ask for the email address only on the first step. If you plan to run SMS, collect the phone number on a second step, after the shopper has already said yes once. Then work through this list:
Exclude cart, checkout, and account pages so the popup never interrupts a purchase.
Hide the form from people who are already subscribed.
Make the close button large enough to tap on a phone.
Send every submission to one list that triggers your welcome flow.
Submit a test entry and confirm the contact lands in the right list.
That last check catches a common failure. A form that is not wired to a flow collects addresses and sends nothing.
Add clear consent language
Put consent text directly under the button. Keep it plain, and use the SMS version only if you collect phone numbers. Here is copy you can adapt:
Never pre-check a consent box, and never add people from a purchase to SMS without permission. Clear opt-in language protects you legally, and it also gives you a more engaged list. Step 4 puts those new subscribers to work.
Step 4. Build your welcome series
Your welcome series is the first flow to build, because new subscribers are most interested right after they join. Welcome emails typically earn some of the highest open rates you will see, so this is where Shopify email automation pays back fastest. Plan for four emails over about a week.
Set the trigger and timing
Start the flow when a contact joins your sign-up list. Add a filter that excludes anyone who has already ordered, since buyers need a different message. Send the first email immediately, because the shopper is waiting on the offer you promised. Space the rest two days apart or less, so your brand stays fresh in their mind.
Send your first welcome email within minutes of sign-up, with the offer front and center.
Send time | Job | |
|---|---|---|
1 | Immediately | Deliver the discount code and introduce the brand |
2 | Day 2 | Tell your brand story and what sets you apart |
3 | Day 4 | Show best sellers and customer reviews |
4 | Day 6 | Remind them the code expires soon |
Write each email with one job
Email 1 does a single thing, which is delivering the code. Put the offer in the subject line, add one clear shop button, and keep the copy short. Subject lines like "Your 10% off is inside" or "Welcome to [Store Name], here's your code" work well.
Later emails build trust before they push the sale. Email 3 should lean on proof, such as star ratings and a few real customer quotes. Urgency belongs in Email 4 only, and it has to be true. If the code does not expire, do not claim it does.
Build and test it
Follow these steps in your tool:
Create a new flow and choose the list sign-up trigger.
Add a filter to exclude people with one or more orders.
Add four emails with the delays from the table above.
Include your discount code as a unique, single-use code if your platform supports it.
Send yourself a test, then check the layout on a phone.
Set the flow to live only after the test looks right. Once it runs, watch two numbers: revenue per recipient and the share of subscribers who use the code. Step 5 covers the flows that recover lost sales.
Step 5. Build abandoned cart and browse flows
Abandoned cart is the most valuable piece of Shopify email automation you will build. About 70% of online carts are abandoned, so even a modest recovery rate adds real revenue. Browse flows catch the shoppers who never reached checkout. Build the cart flow first, then add browse.
Build the abandoned cart flow
Start the flow on "started checkout." Add a filter for "has not placed an order since starting checkout." Timing matters more than copy here, so use this schedule:
Send time | Job | |
|---|---|---|
1 | 1 hour after abandonment | Simple reminder with the exact product left behind |
2 | 24 hours | Answer objections with reviews, shipping info, and return policy |
3 | 48 to 72 hours | Last nudge, with an incentive only if margins allow |
Send your first cart email within an hour, and show the exact product the shopper left behind.
Every email should include the product image, name, price, and a button straight back to the cart. Hold the discount for Email 3, and offer it only above a cart value you set, such as $75. If you discount in Email 1, shoppers learn to abandon on purpose.
Build the browse abandonment flow
Browse flows are a lighter touch. The shopper only looked, so a hard sell feels pushy. Send one email, no discount, about four hours after they view a product. Show the item they viewed plus three or four related best sellers.
Follow these steps:
Trigger on "viewed product."
Filter out anyone who added to cart, started checkout, or ordered.
Add a flow filter so nobody gets a browse email more than once every seven days.
Wait four hours, then send the email.
Test it by clicking through from one of your own emails, then viewing a product in a private window.
That last step matters because browse flows only reach identified visitors, meaning people your tool can match to an email address. The onsite tracking you enabled in Step 2 makes this possible. Also keep the two flows from colliding. Exclude anyone currently in the cart flow from browse, so no shopper gets both on the same day. Step 6 moves on to customers who completed an order.
Step 6. Set up post-purchase and review flows
A first order is the start of the relationship, not the end. Post-purchase flows turn one-time buyers into repeat customers, and that costs far less than winning a new shopper with ads. This stage of Shopify email automation also collects the reviews that make your welcome and cart emails more convincing.
Build the post-purchase flow
Trigger the flow on "placed order." Skip the order confirmation, because Shopify already sends that. Keep the first emails helpful, not salesy, since the customer just spent money and wants to know the order is safe. Sell only once they have the product in hand. Adjust the timing below to match your real shipping times.
Send time | Job | |
|---|---|---|
1 | 1 day after order | Thank them and set shipping expectations |
2 | About 5 days after delivery | Share care tips, setup help, or how to get the most from the product |
3 | 21 days after order | Suggest a related product based on what they bought |
Treat the first 30 days after an order as onboarding, not as another chance to sell.
Split the flow by order count if your tool allows it. First-time buyers need reassurance. Repeat buyers can skip straight to Email 3, and a short thank-you for loyalty works well.
Build the review request flow
Reviews are the proof that lifts conversion across your whole store. Ask too early and the customer has nothing to say. Send the request 7 to 14 days after delivery, once they have used the product. Here is the setup:
Trigger on "fulfilled order," then add a delay of your average delivery time plus seven days.
Connect a review tool such as Klaviyo Reviews or Judge.me so ratings land on your product pages.
Show the product image and a one-click star rating link in the email.
Send one reminder five days later, only to people who have not reviewed.
Exclude anyone who requested a refund or contacted support in the last 30 days.
That last filter protects you from asking an unhappy customer for a public rating.
Reuse what you collect
Offering a small reward for a review is fine, but never tie it to a positive rating. The FTC treats that as a deceptive practice. Ask for honest feedback and let the stars fall where they land.
Then put the results to work. Pull your best quotes into Email 3 of the welcome series and into the second abandoned cart email. Real customer words outsell your own copy, and this flow keeps supplying them without any manual work. Step 7 covers the customers who go quiet.
Step 7. Add win-back and back-in-stock flows
Some customers drift away, and some shoppers want items you have already sold out. These two flows handle both. Win-back emails recover lapsed buyers, and back-in-stock alerts capture demand you would otherwise lose. Once the earlier flows are live, both take little effort to add to your Shopify email automation.
Build the win-back flow
Trigger the flow when a customer has not ordered for a set window. Base that window on your repurchase cycle, not a guess. If buyers usually reorder every 60 days, start the flow at 90. Slower categories like furniture or gear may need 120 to 180 days. Exclude anyone who has bought since, and anyone sitting in another flow.
Send time | Job | |
|---|---|---|
1 | When the window passes | Say you miss them and show new arrivals or best sellers |
2 | 5 days later | Offer an incentive, such as 15% off or free shipping |
3 | 10 days after Email 2 | Last chance, and ask if they still want to hear from you |
After the third email, check who engaged. Suppress anyone who opened or clicked nothing, because sending to dead addresses drags down your deliverability. These are the inactive contacts you set aside in Step 2.
A win-back flow earns its keep twice, by recovering buyers and by clearing out contacts who hurt your sender reputation.
Build the back-in-stock flow
Shoppers who ask to be notified are the warmest leads you have. They told you exactly what they want. Klaviyo includes a back-in-stock setup, and with other tools you may need an app from the Shopify App Store. Speed decides the result, since popular items can sell out again within hours.
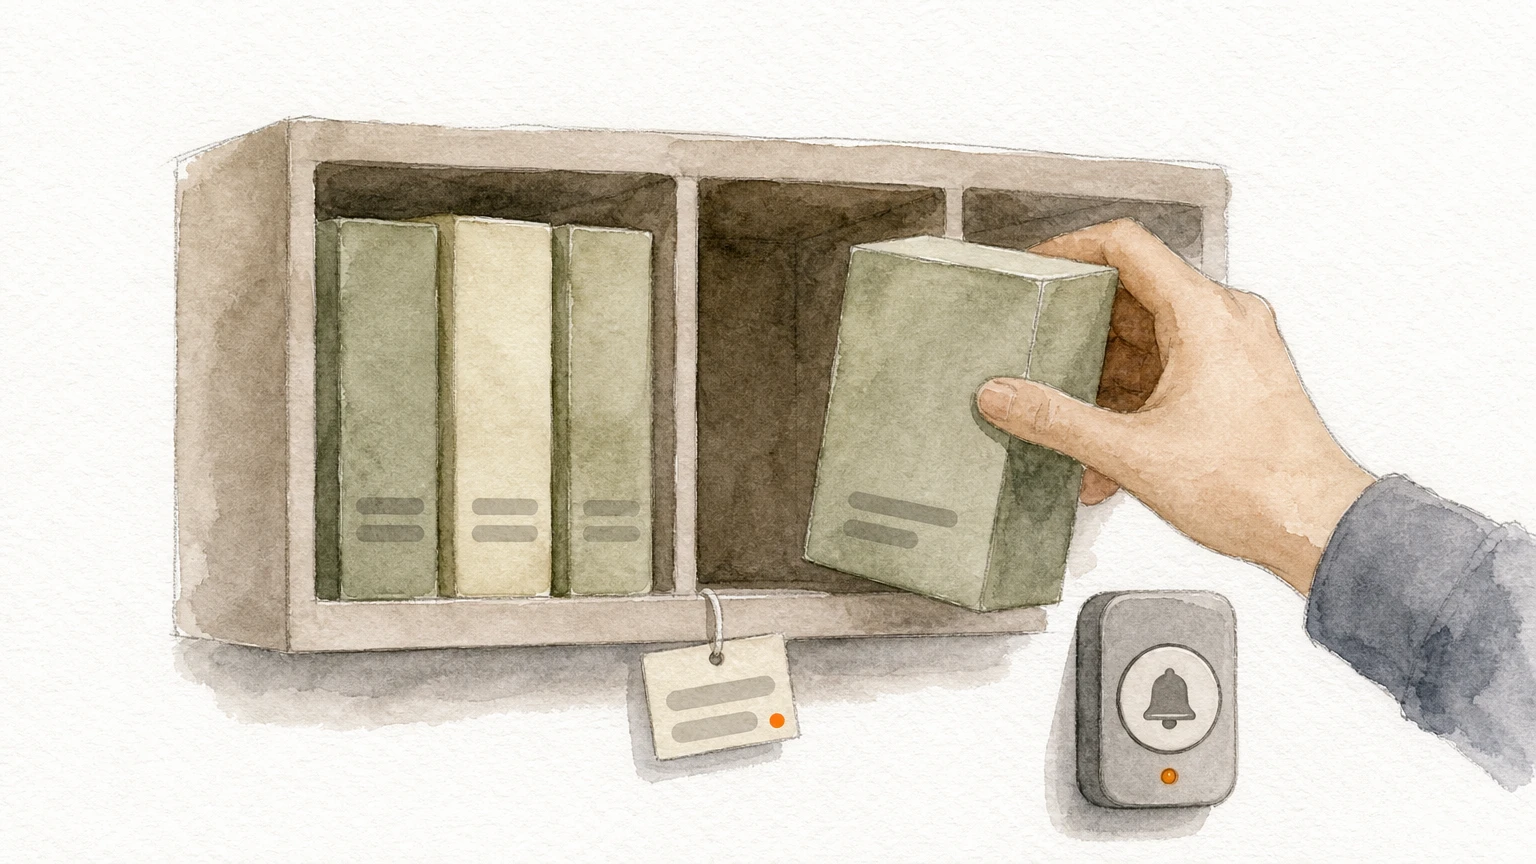
Add a "notify me when available" button to sold-out product pages.
Trigger the flow when inventory moves above zero.
Send within minutes, with the product image, price, and a direct buy button.
Send one reminder two days later to people who have not purchased.
Mention low stock in the reminder only when it is true.
Test it by signing up for a sold-out item yourself, then adding a unit in Shopify. If the email does not arrive within a few minutes, check your inventory sync before you go live. Step 8 shows you how to measure all of these flows and improve them.
Step 8. Test, track results and optimize
Launching your flows is only half the job. Every flow needs a test before it goes live and a review after it runs. This last step of your Shopify email automation setup protects your revenue and catches quiet failures early.
Run a pre-launch checklist
Before you switch a flow on, walk through it as a shopper would. Check the trigger, the filters, and every link, because one broken button costs more than a weak subject line.
Trigger the flow with a test order or test sign-up.
Confirm the delays and filters behave as planned.
Click every button and check the discount code works.
Preview on iPhone and Android, plus Gmail and Apple Mail.
Confirm no shopper can sit in two flows at once.
Track the numbers that matter
Open rates alone mislead you, because Apple Mail Privacy Protection inflates them. Judge each flow by revenue per recipient and placed order rate. Review every flow monthly in your platform's flow report.
Metric | What it tells you | Warning sign |
|---|---|---|
Revenue per recipient | Real value of each send | Falling for two months in a row |
Placed order rate | Whether the flow converts | Low despite healthy clicks |
Click rate | Whether the content pulls | Drops after a design change |
Unsubscribe rate | Whether timing or volume annoys people | Climbs after you add emails |
Spam complaint rate | Risk to your sender reputation | Anywhere near 0.3% |
Judge every flow by the revenue it earns per recipient, not by how many people opened it.
Optimize one change at a time
Start with your highest-volume flows, usually welcome and abandoned cart. Run an A/B test on a single element, such as the subject line, the offer, or the send delay. Split the audience evenly and wait until each version has a few hundred recipients. Testing two things at once tells you nothing about which one worked.
Good email automation Shopify brands depend on is tuned, not finished. Set a quarterly reminder to review copy, product picks, and discount rules. Keep a simple test log with the change, the result, and the date, so you never repeat an old experiment. At Chromex, this steady testing across every flow is what compounds revenue over time.
Common mistakes and compliance basics
Mistakes that quietly cost you revenue
Most broken setups fail in the same few places. Overlapping flows and untested triggers account for most of what we find when we audit a store's Shopify email automation. Check your account against this table.
Mistake | Why it hurts | Fix |
|---|---|---|
Discounting in the first cart email | Trains shoppers to abandon on purpose | Hold the offer for Email 3, above a cart minimum |
Shoppers sitting in two flows at once | Duplicate emails and more unsubscribes | Add flow filters and exclusions |
Emailing everyone forever | Low engagement drags down inbox placement | Suppress after 180 days of no activity |
Skipping the mobile preview | Most opens happen on phones | Test on iPhone and Android |
Judging by open rates | Apple Mail inflates them | Track revenue per recipient |
Fix the first two rows before anything else. They cost you money every day they stay live.
Compliance basics you cannot skip
In the US, the CAN-SPAM Act sets the floor for marketing email. The FTC's compliance guide covers it in plain language. Your flows need a valid physical postal address in the footer and a way to honor every unsubscribe within 10 business days. Most platforms add both by default, but confirm they appear in each template you build.
Use an accurate From name and a subject line that matches the content.
Put a visible unsubscribe link in every marketing email.
Remove unsubscribed contacts from every flow, not just one.
Keep proof of when and how each person opted in.
Clear consent and a working unsubscribe link protect your sender reputation and your legal standing at the same time.
Text messages carry stricter rules. Under the TCPA, you need prior express written consent before sending marketing texts, which is why the SMS consent copy in Step 3 matters. Also respect quiet hours, and avoid texting before 8 a.m. or after 9 p.m. in the recipient's time zone.
Shoppers in the EU or UK fall under GDPR, which requires opt-in consent and an easy way to withdraw it. If you sell internationally, turn on your platform's consent tools for those regions. This is general guidance, not legal advice, so have a lawyer review your setup if you sell across borders or run SMS at scale.
Start small and build from here
You do not need seven flows on day one. Shopify email automation pays off fastest when you start small: pick your tool, connect your store, add a sign-up form, then launch your welcome series and abandoned cart flow.
Those first flows earn the most, and every later flow builds on them, so once they are live, explore more ecommerce email automation flows and examples to build next. Test each change, judge results by revenue per recipient, and keep your list clean and compliant as it grows.
Want a team to handle the build and the testing? Chromex runs these flows for ecommerce brands every day. Book a call with Chromex and we will audit your current setup and map out a 60-day action plan for your store.